Home > Features > Control Center
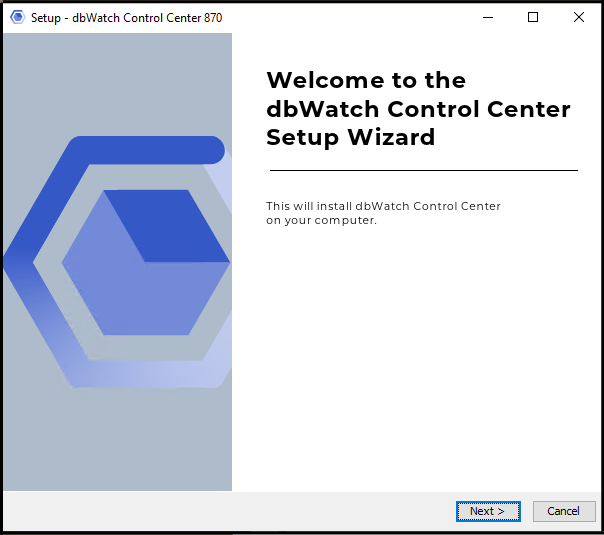
Begin monitoring in hours with a default setup that deploys right out of the box
Gain immediate visibility and control with pre-configured monitoring
Consistent version control and automatic upgrades save time and effort
Choose the monitoring job you need from the extensive library
Get started with dbWatch today and simplify your database monitoring and management from day one.